I’ll admit, I was overwhelmed when I first tried photographing birds. So many settings, gear choices, and fleeting moments can make it feel impossible at first. This Bird Photography Beginners Guide is here to change that. You do not need perfection to start. With the right basics and a little patience, you will be capturing sharp, lively shots sooner than you think.
Stick with me, and I will show you how to turn those frustrating near misses into moments you are proud to share.
Start With the Right Bird Photography Gear
While you don’t need the most expensive gear to start, having the right bird photography equipment makes a huge difference in capturing sharp, stunning shots.
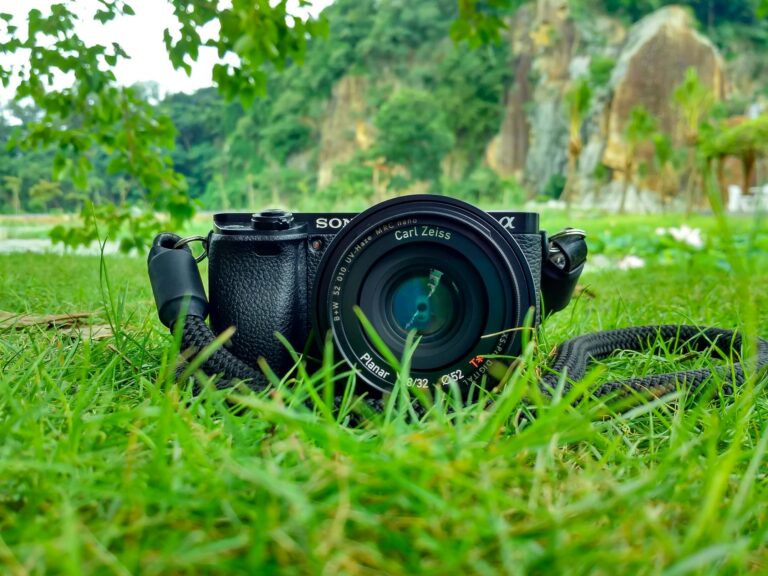
I recommend a DSLR or mirrorless camera for fast autofocus and burst shooting, especially with birds in flight. Mirrorless bodies are lighter and offer great eye-tracking, while DSLRs can be budget-friendly and still perform well.

Pair your camera with a sturdy tripod or monopod, tripods help with heavy lenses, and monopods offer mobility. Don’t forget a gimbal head and quick-release plate for smooth moves.
Bring extra batteries, fast memory cards, and a rain cover, too. Trust me, the right gear keeps you ready, comfortable, and confident in the field.
Using a Micro Four Thirds system can significantly reduce your load, making it easier to stay within airline 7kg carry-on limit restrictions while still achieving long reach.
Choose a Telephoto Lens for Bird Photography
A good telephoto lens is your best friend in bird photography, and I can’t overstate how much it’ll boost your success in the field.

I recommend starting with a zoom like 100–400mm or 150–600mm for flexibility. These handle perch shots and flight with ease, even if they’re a bit heavy, just watch those lens weight tradeoffs on long hikes.
If you shoot on a crop sensor, you’ll love the advantages, a 600mm lens feels like 900mm, giving you extra reach for shy birds. Crop bodies make super-telephoto work more affordable and portable.
I’ve used teleconverters too, but stick to f/4 or faster lenses when you do. Some lenses, like the Olympus 150-400mm f4.5 Pro, even come with a built-in 1.25x teleconverter, giving you extra reach without sacrificing image quality or adding extra gear.
Keep Steady: Tripods, Monopods, and Handheld Tips
Now that you’ve picked a solid telephoto lens to bring distant birds into frame, let’s talk about how to keep that setup steady so your shots stay sharp.
I rely on tripods for maximum stability, especially at dawn or dusk, but they can be bulky. Monopods offer great mobility and faster deployment, perfect for erratic birds. Use monopod tri feet for extra steadiness when pausing between shots. The best tripod is the one actually carried, so consider weight and portability to ensure you bring it on every outing.
For handheld work, I crank up the shutter speed to 1/1000 s or faster. Good long lens balance reduces fatigue and improves control.
Whether you’re using a tripod, monopod, or going handheld, practice smooth panning and proper stance. You’ve got this, steady shots are totally within reach!
Key Add-Ons for Bird Photography: Teleconverters and Blinds
When you’re trying to fill the frame with a distant heron or a tiny warbler, I’ve found teleconverters can be a game-changer, like getting a front-row seat without scaring off the talent.
A 1.4x or 2.0x model boosts your lens’s reach affordably and lightly, though you’ll lose some light and sharpness. I stick with 1.4x for the best balance.
Pair it with a fast, sharp lens so autofocus stays quick.
Using a 1.4X teleconverter results in 1 stop of aperture loss, which means your lens lets in less light, potentially affecting performance in shaded or low-light conditions.
And don’t forget DIY blinds, simple setups from natural materials help you blend in.
Always follow legal ethics, respect wildlife, private property, and park rules.
Whether using a teleconverter or a blind, patience and kindness go a long way in bird photography.
Use the Best Camera Settings for Birds
I’ll show you the easiest ways to set your camera for sharp, clear bird shots, starting with shutter speed and aperture.

You’ll want a fast shutter, like 1/1000 second or quicker, to freeze wings and sudden moves, especially in flight.
A mid-range aperture like f/6.3 to f/8 gives you good sharpness and depth, so your bird stays crisp from beak to tail.
Using Aperture Priority mode allows your camera to automatically select the best shutter speed based on available light, helping you maintain proper exposure while focusing on composition and timing.
Aperture For Sharpness
Let’s talk about aperture, the secret weapon for nailing sharp, stunning bird photos.
Watch out for aperture pitfalls, shooting wide open can soften edges, especially with cheaper lenses. But don’t stress, most lenses have sweet spots, usually f/6.3 to f/8, where sharpness and detail shine. I often stop down slightly to keep the bird’s eye, and body crisp. Modern pro lenses, super sharp even at f/4.
For perched birds or groups, f/8–f/11 adds depth without fuss. Just balance aperture with shutter speed and ISO, keep it bright, fast, and clean. You’ve got this! 95% of shots are wide open.
Shutter Speed Essentials
Now that we’ve nailed down the sweet spot for sharpness with aperture, it’s time to crank up the speed, shutter speed, that is. I start at 1/1000s for most birds, which fights motion blur and keeps things crisp.
Perched birds, 1/500s works if you brace well. Flying or fast-moving, crank it to 1/2000s or higher. Small, zippy birds like swallows often need 1/3200s.
Faster shutter speeds mean less light, so I use exposure compensation and boost ISO, around 640 in daylight. Yes, higher ISO adds noise, but I’d rather have a sharp, slightly noisy shot than a blurry one.
Shutter speed is tied directly to aperture, which means adjusting one will impact the other as you balance your exposure settings.
Trust me, mastering this balance makes all the difference. You’ve got this.
Shoot Like a Pro: Angles, Light, and Timing
When you get down to their level, birds suddenly look more alive, more real, like they’re inviting you into their world instead of just posing for a snapshot.
Try low-angle shooting to connect better, or shift left or right for fresh backgrounds.
I love using silhouettes light at sunrise or sunset, it highlights their shape beautifully.
Shoot with the sun behind you for bright, clear shots, and remember, small tweaks in shooting angles make a huge difference.
Position birds off-center, facing into the frame, and keep horizons on the thirds.
With a little patience and these tips, you’ll capture moments that feel alive, natural, and totally yours.
Include the bird’s habitat to tell a richer story about its life and environment bird-habitat relationships.
Frequently Asked Questions
What Birds Are Easiest for Beginners to Photograph?
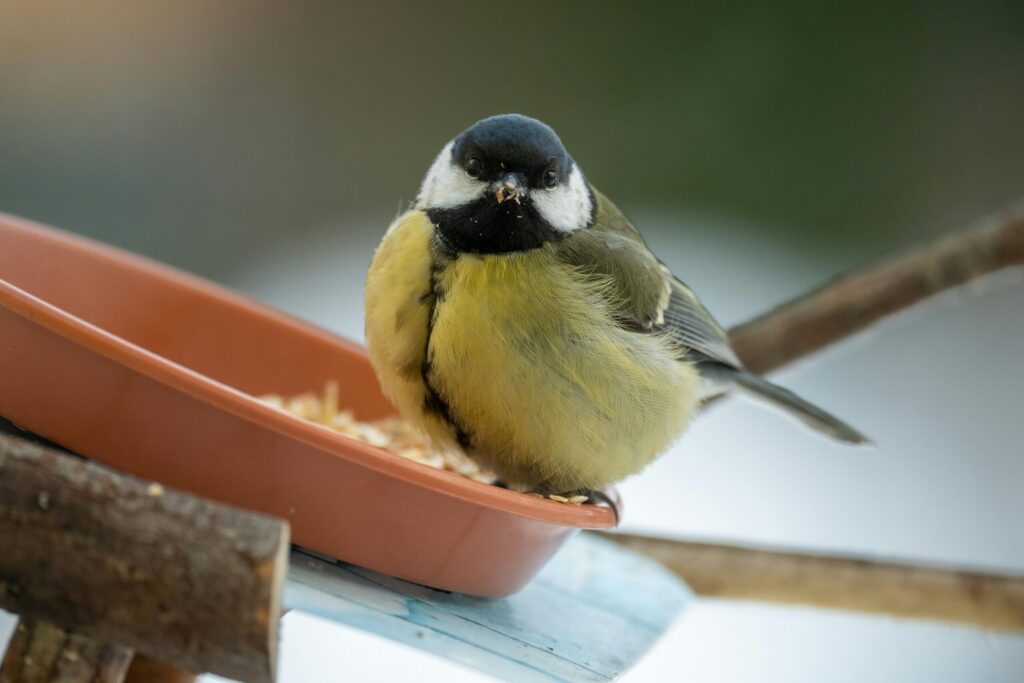
The easiest birds for beginners to photograph are urban pigeons and backyard cardinals, they’re used to people, stick around feeders, and let you get close shots without scaring them off. You’ll nail focus and timing with these patient, colorful subjects.
How Do I Identify Bird Species in the Field?
:
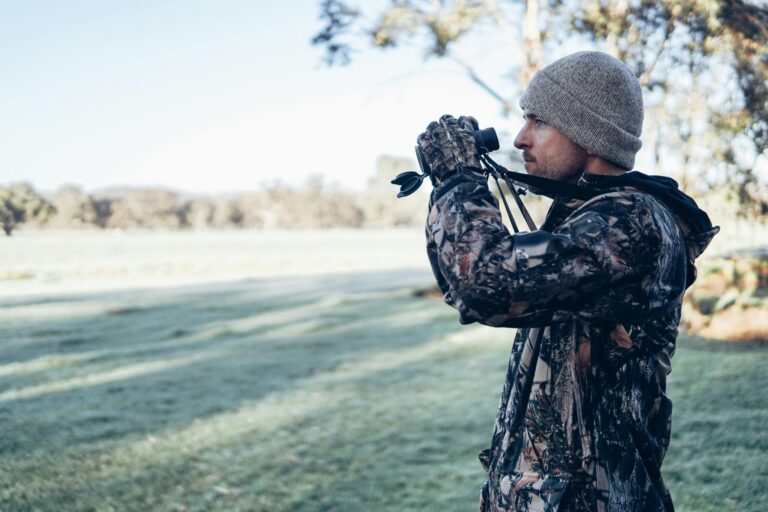
I identify birds by studying size, shape, and behavior, then checking my field guide basics. I use binoculars and scopes to spot details like plumage and bill shape, and always confirm range and season, to be sure.
When Is the Best Time of Day to Photograph Birds?
I shoot during golden hour lighting, because it’s warm and soft, avoiding harsh midday shadows. Sunrise and sunset give me the best light and active birds, so I always check the time and plan my outings then.
How Can I Approach Birds Without Scaring Them?
I move slowly and use camouflage techniques to blend in, never relying on using bird calls. I stay low, avoid sudden moves, and let birds come to me, respecting their space and behavior.
Is Bird Photography Better in Summer or Winter?
comma I find summer better for bird photography because of the Summer advantages, more birds, longer days, and peak activity comma But I love Winter advantages too, cleaner shots and soft light, when I brave the cold.
Conclusion
You’ve got this! Start with your gear, use that telephoto lens, and don’t fear high ISOs. Shoot fast, stay steady, and get down to eye level with your bird. Golden hour light, perfect. Remember, practice beats perfection, every blurry shot teaches you something. Toss in a blind, a teleconverter, and a dash of patience, and you’ll be capturing stunning birds in no time. Keep clicking, keep learning, and most of all, have fun out there!